Introduction
Light is not just a technical parameter, but a photograph. He sets shape, mood, depth. In the studio it is easy to control light, building complex schemes with soft shadows and expressive glare. But what to do when you have to shoot against a natural background or in unpredictable lighting? The answer is to use the power of post -cutting.
Soft light can be recreated and emphasized in a digital environment. On the blog Gimp Tools Hub We believe: expressiveness is available to anyone who knows how to work with details. Today we will tell you how to use GIMP to add soft light, volume and atmosphere to the picture without studio equipment. All that is needed is an understanding of chiaroscuro and a little patience.
What is soft light
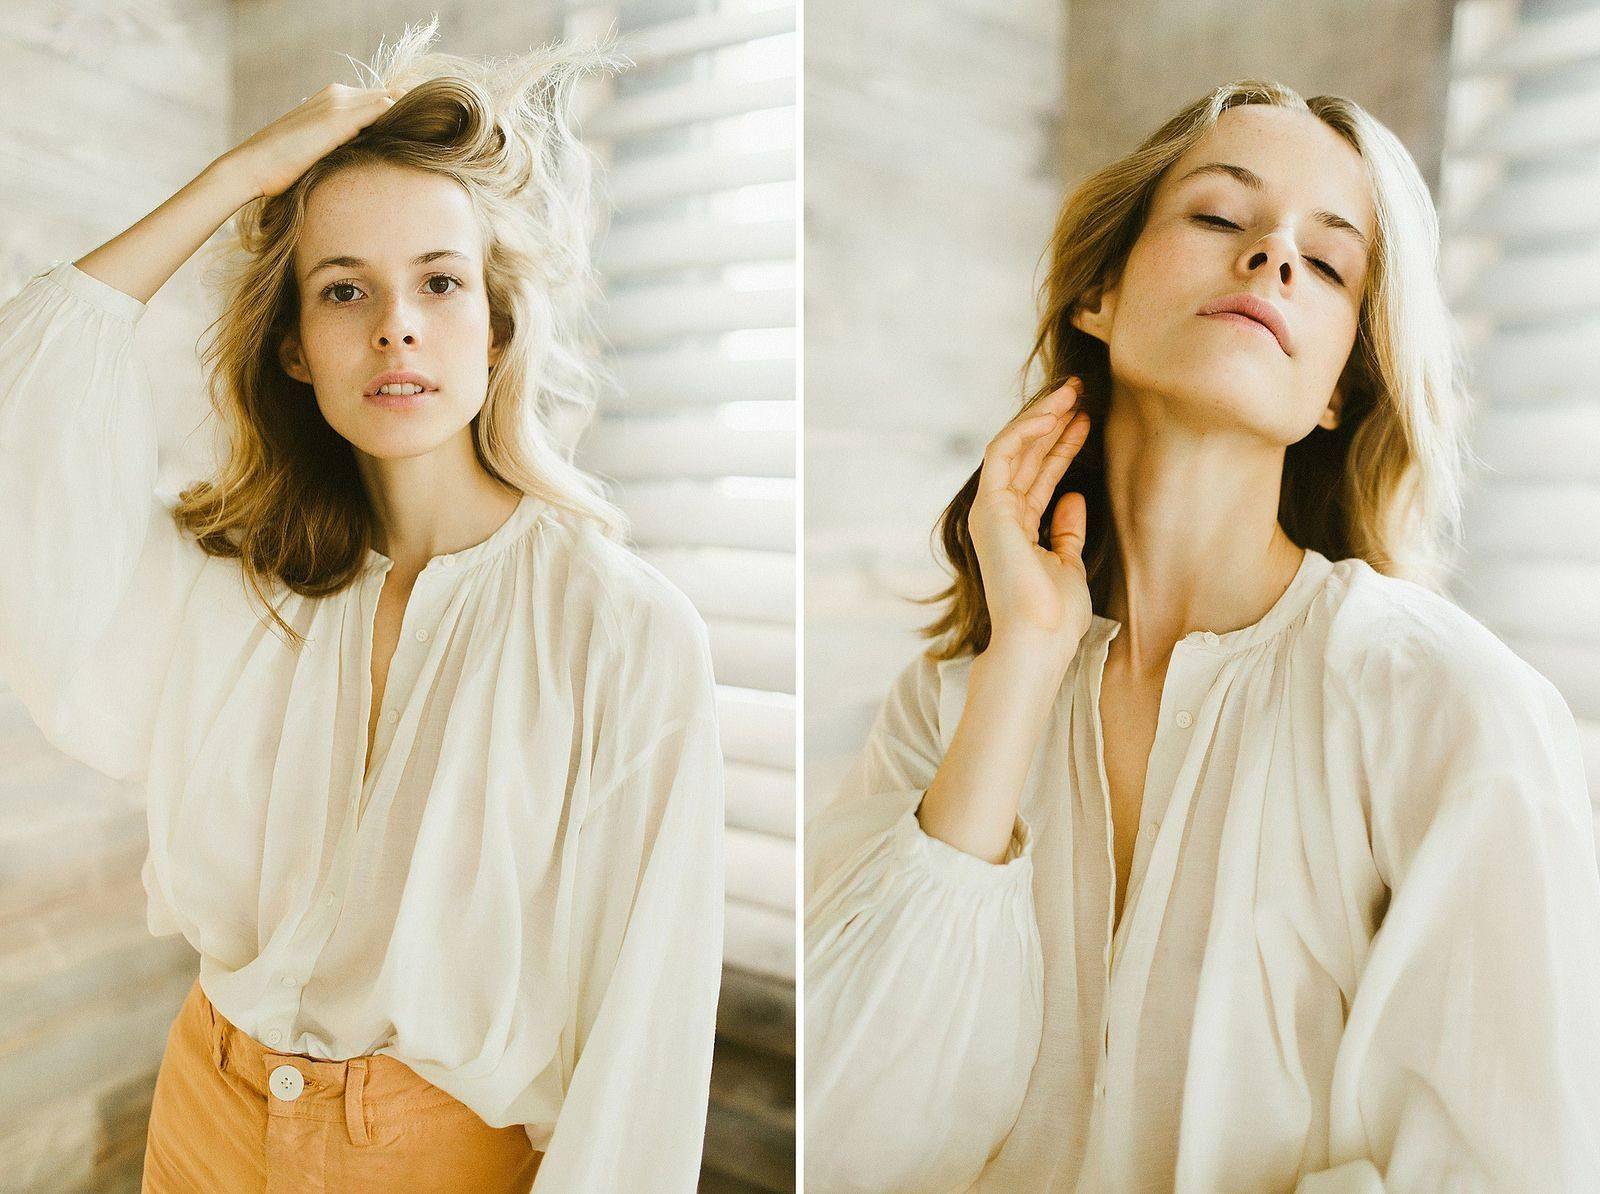
Soft light is uniform, scattered lighting, in which the transitions between light and shadow are smooth and deep. It creates volume, softens the features, makes the textures expressive, but not harsh. Such light is especially appreciated in portrait, objective and interior shooting.
In conditions of shooting on the street or in home interiors, it is difficult to achieve perfect dispersion. But GIMP has tools that allow you to simulate soft lighting and emphasize its effect in the finished photo.
Approach to digital light: imitation, not substitution
The purpose of the editing is not to “draw” the light, but to supplement what is already there. It is necessary to strengthen the natural direction of light, reveal its effect on forms and textures. Properly processed light does not look artificial, it becomes an integral part of the image.
Working with soft light in GIMP is working with tones, masks, overhead modes and gradients. No tool will give an instant result, but their combination creates a truly deep effect.
Stages of creating soft light in GIMP
1. Preparation of the image
Before starting the creation of a light volume:
- Evaluate the overall lighting in the frame;
- Determine the light source and direction;
- Decide what nature of the light you want to strengthen: warm morning, neutral day or cool evening.
Create a copy of the image and work in layers - this will return to the original version at any time and regulate the intensity of each effect.
2. Adding light through gradients
Gradientents are one of the simplest and most accurate ways to create light spots or scattered lighting.
Algorithm:
- Create a new layer;
- Select a radial gradient from white to transparent;
- Place the center of the gradient at the point of the alleged light source;
- Set the layer overlap mode to “Soft Light” or “Overlay”;
- Reduce opacity to the desired level.
Repeat the reception in several zones of the frame - this will create a natural volume and emphasize the direction of light.
3. Lightening and darkening using Dodge and Burn
Dodge and Burn tools allow you to work manually, lightening and darkening the image areas to simulate the shape and highlight the depth.
Recommendations:
- Create an empty layer in "Overlay" mode;
- Select a soft brush with low opacity;
- Gently lightly lighten the areas where the light should fall;
- Black - add a shadow along the edges and in folds of shape.
This method is especially good for portraits, objects and architectural pictures, where the gradations of light are important.
4. Using masks for local lighting
Masks allow you to apply the effect only to the desired areas, preserving the rest of the image unchanged.
Example:
- create a copy of the image;
- Make a layer a little brighter or apply a curve;
- Add the mask to it;
- Hide the effect in unnecessary places with a black brush, leaving only local light areas.
Thus, you can neatly lighten the face, hands, texture of the fabric, reflection in the glass - without affecting the background or secondary parts.
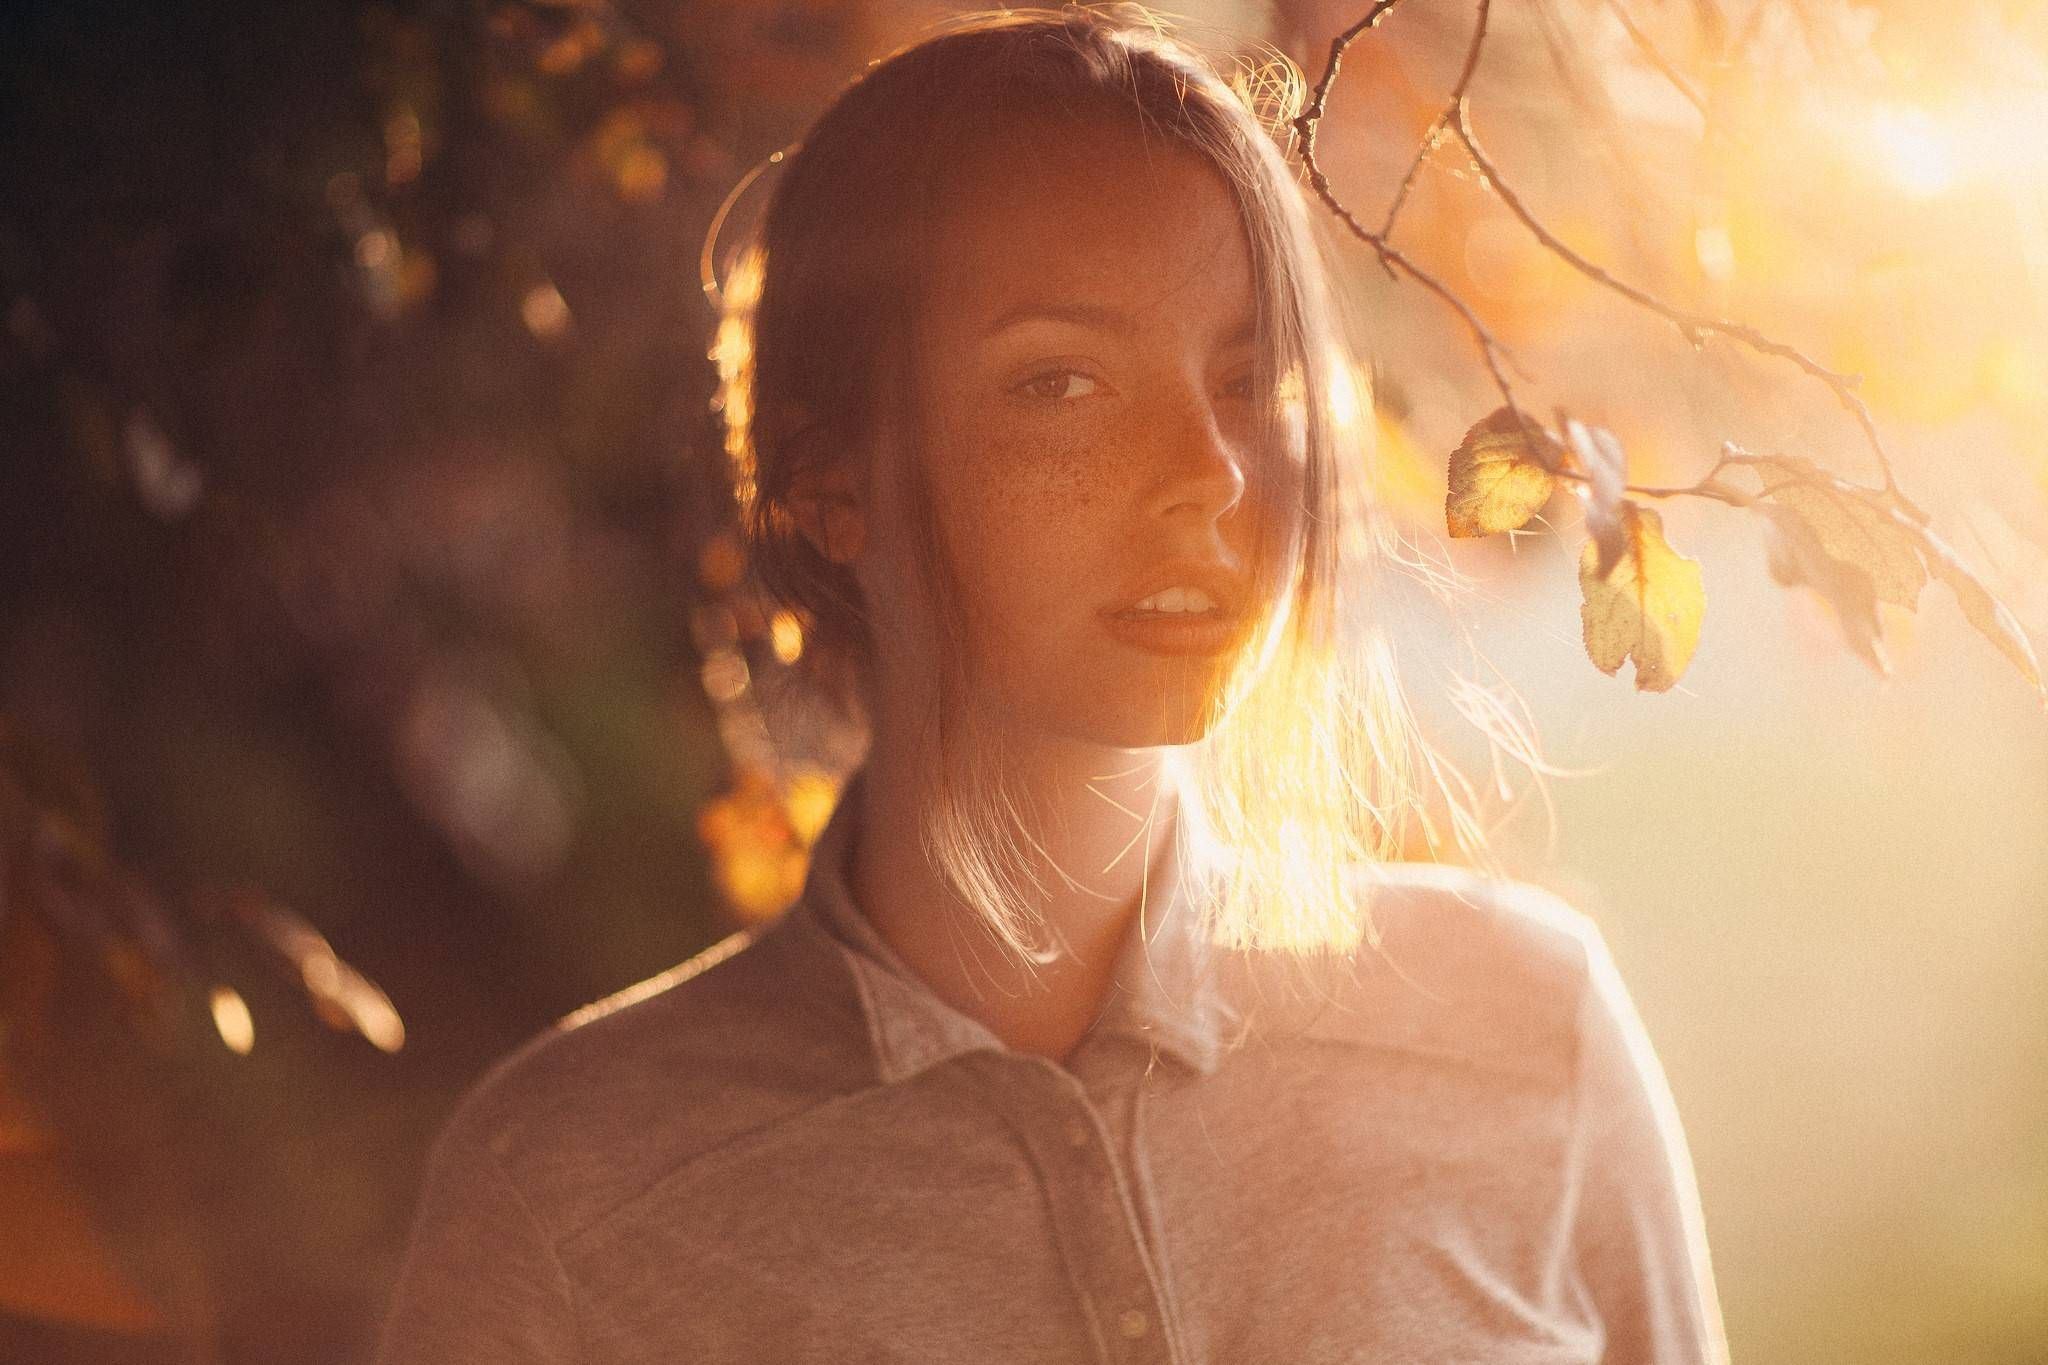
5. Adding soft glare
Light light on the desired part makes the image expressive. It can be a reflection on the cheek, a reflection on the subject, a sunlight in the hair.
How to make:
- Create a new layer;
- Draw a small light spot with a soft brush;
- Apply the Gaussian Blur filter;
- reduce transparency;
- Set the SCREEN or Soft Light application mode.
Such accents should not be obvious. Their task is to add livelings, to emphasize the form, without violating the integrity of the image.
Maintaining naturalness
Working with soft light, it is important not to overdo it. Here are some tips to maintain harmony:
- Compare with the original - the effect should not look intrusive.
- Pause and return to the frame with a fresh look.
- Work in cold and warm range, respectively, the character of the scene.
- Avoid excessive darkening: soft light works in a pair with air and space.
Conclusion
Soft light is a sense of life in the frame. This is a way to tell a story through Polon, without raising a voice. Even without studio equipment, you can give the image volume and sophistication if you learn to work with lighting in digital space.
GIMP provides all opportunities for this: from gradients to point correction. On the blog Gimp Tools Hub We are sure that light is not only a photographer, but also a retoucher. Learn to see its structure, feel its energy-and your images will sound in a new way.
Tamera Cole
As always, your post is filled with useful information. Thank you for your work and research!